
How to Make Summer-Themed 3D Paper Card Toppers - Cricut Joy Project

Make Fun Summer-Themed 3D Paper Card Toppers!
Do you like making paper cards but find your designs falling slightly flat (pun intended!)? Well, you’re in luck! These 3D Paper Card Toppers will make your handmade greeting cards look spectacular with the added 3D layered look, and they’re super fun to make for summer!
The adorable butterfly, turtle, and watermelon cut-outs are perfect for creating a sweet summertime note to send to your loved ones, or you can keep them all for yourself to enjoy as 3D art!
Summer-Themed 3D Paper Card Toppers Tutorial

I just love how these cute paper cutouts layer on top of each other, with each layer a different pop of color. Rolling the edges of the paper cutouts helps bring the designs to life, and using just a bit of regular white glue makes assembling the card a piece of cake!
These cards are easy to make while using a cutting machine like the Cricut Joy used here in this project. However, you can easily use a larger version of the Cricut cutting machines just by following the same dimensions and instructions below.
Today, we’ll be making the Butterfly 3D Paper Card Topper, with detailed instructions in Part One. The Turtle and Watermelon topper designs will be shown with shorter yet very similar instructions in Parts Two and Three. All three designs are included in the Template Pack as SVG files that can be easily downloaded to Design Space.
Are you ready? Let’s start crafting!

Supplies List:
Cricut Joy/Joy Xtra machine (as shown in the project pictures, but any Cricut machine can be used)
Joy/Joy Xtra Card Mat
Brayer Tool
Weeder Tool
Scraper Tool
Tweezers
Fine Detail Craft Scissors
Paper Cutter or Scissors & a Ruler
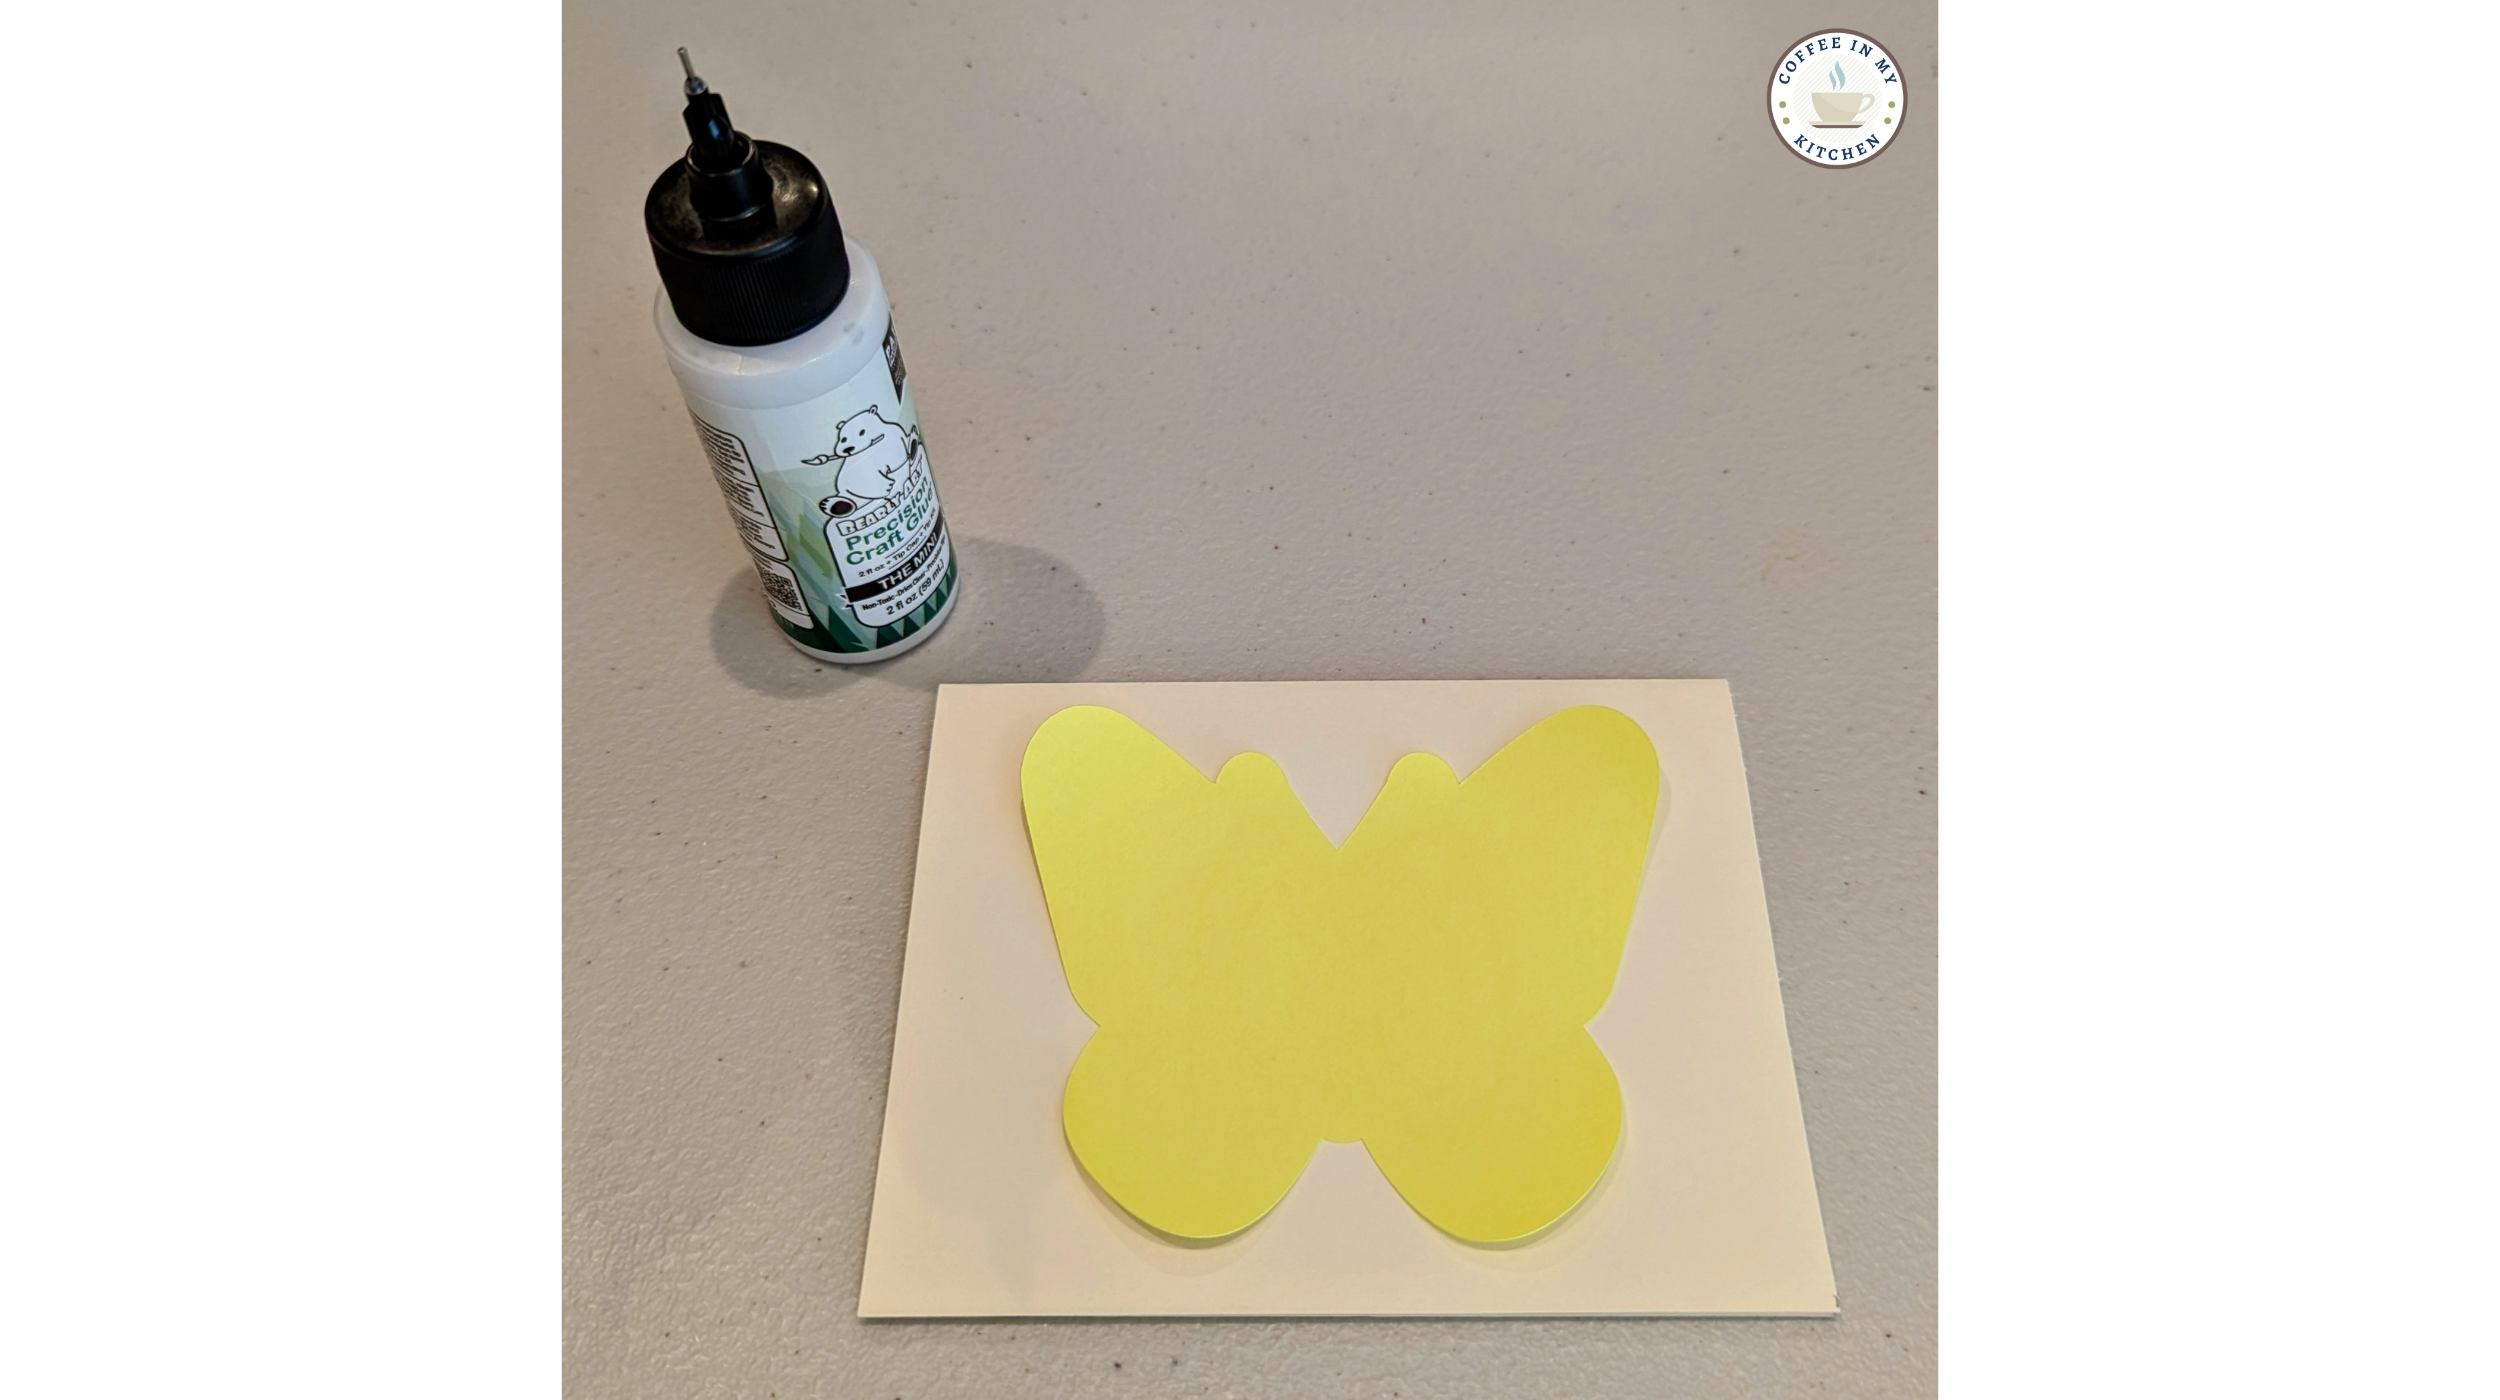
Craft Glue with a Precision Glue Tip (I like the Bearly Art Precision Craft Glue found at Amazon.com)
Cricut Joy Insert Cards - Neutral Sampler or use White/Cream Cardstock 65lb/176gsm trimmed to fit card size 4.25 x 5.5 in.
Pink, Peach, Yellow, Mint Green, Blue, & Purple Cardstock 65lb/176gsm (I like using the Astrobrights Colored Cardstock in Playful - this paper pack can be purchased from Walmart.com)
Template #001 is inside the Coffee in My Kitchen Freebie Vault. Enter the Vault HERE or fill out the form below to get the FREE password!

Part One: Butterfly 3D Paper Card Topper

Cardstock Paper Colors:
Blue
Purple
Pink
Yellow
Card Size:
4.25 x 5.5in (horizontal)
Butterfly 3D Paper Card Topper Instructions:
Step One - Create the Topper in Design Space
Open a New Canvas in Design Space.
Upload the Butterfly 3D Paper Card Topper file to Design Space and add it to the canvas.
Resize the butterfly image to 3.8 W in the Size menu.

Click on the butterfly image and go to the Offset icon in the top menu. Resize the offset image to 0.069in (either type in the number or use the toggle bar). Click Apply.

Click on the new offset image in the Layers Panel, then update the color to Light Purple in the Color Box menu in the top menu.

With the purple offset highlighted, click on the Contours icon in the bottom menu of the Layers Panel. In the Contours box, click on the smallest contours to “hide” them.

This action will prevent the machine from cutting pieces that are too small and could rip the paper design. The project photos provide a visual aid on which contours in each layer to hide if needed.
ProTip: Not all layers will need to have contours hidden; only the smallest contours in the more intricate designs will need to be hidden.
Click once more on the purple offset and then on the Offset icon. Leave the size at 0.069 and click Apply.

Click on the new offset image in the Layers Panel, then update its color to Light Pink in the Color Box menu in the top menu.

With the pink offset highlighted, click on the Contours icon in the bottom menu of the Layers Panel. In the Contours box, click on the smallest contours to “hide” them.

Repeat the above steps to create a 4th offset at 0.069.

Then change the 4th offset’s color to Light Yellow.

With the yellow offset highlighted, click on the Contours icon in the bottom menu of the Layers Panel. In the Contours box, click on the smallest contours to “hide” them.

Click Save in the upper right-hand menu to keep and name the project.
Finally, click Make!
Step Two: Prepare the Mats and Materials
In the Mat box, select On Mat for any material, and then under Mat Size, select 4.5 x 6.5in Joy/ 8.5x 12in Joy Xtra.

View the image layout on the mat preview page, then click Continue.

Connect the Joy/Joy Xtra machine to Design Space.
Under Material Type, go to Browse All Materials, and select Light Cardstock – 65lb (176 gsm). Feel free to bookmark the material box for later use!

Follow the instructions to load the fine-point blade.

Take the paper and using a paper cutter or scissors and a ruler, carefully measure and cut the cardstock to fit the Joy cutting mat. The dimensions of the Joy standard grip mat are 4.5x6 inches, so cut the cardstock to fit inside those measurements.

Take the standard grip mat and the first piece of pink color cardstock. Carefully line up the paper within the mat grid and press down, using the brayer tool to smooth and secure the paper to the mat firmly.

When prompted, load the mat into the machine for alignment. When the machine is ready, click Go!
Continue following instructions to unload and load each mat, matching the color cardstock paper with each color mat in Design Space.

Step Three - Assembling the 3D Butterfly Paper Card Topper
Once all the cardstock paper has been cut, carefully remove the excess paper from the design and the mat. Use the weeder tool and the tweezers to remove the tiny paper pieces and gently lift the final paper design from the mat.

Take the scraper tool and gently curl up the edges of each paper piece. This action will create the 3D effect!

Next, take the folded card and place it horizontally for the 3D paper design. Take the bottom paper layer and the craft glue, and carefully apply glue to the back of the paper piece.

Flip the paper piece over and firmly apply it to the folded card, pressing down on the paper for a few minutes to allow the glue to set.
Repeat the above steps with each remaining paper layer, carefully applying glue to the back of the paper, lining it up with the first paper layer, and pressing down on it for a few minutes.


When all the paper layers have been glued together, you can gently bend or roll the edges of the paper pieces up a bit to enhance the 3D effect.

Congratulations! You’ve just created a beautiful Butterfly 3D Paper Card Topper! Enjoy this card as a touch of summer art decor for yourself, or send it to a loved one to brighten their day!
Part Two: Turtle 3D Paper Card Topper

Cardstock Paper Colors:
Mint Green
Purple
Yellow
Peach
Card Size:
4.25 x 5.5in (vertical)
Turtle 3D Paper Card Topper Instructions:
Step One - Create the Topper in Design Space
Follow the Step One instructions for the Butterfly 3D Paper Card Topper to upload the Turtle 3D topper file to Design Space. Resize the turtle image to 3.5in W.
Continue to follow the Step One instructions for the butterfly image, and size each offset to 0.069.
When selecting each layer’s color, follow the below color list:
Light Green
Light Purple
Light Yellow
Light Orange
Check each layer for small contours to “hide.” Again, this step will prevent the paper from being torn while cutting.
Step Two - Prepping Mats & Materials
Follow the Butterfly 3D Paper Card Topper instructions to prepare the mats and cardstock for the Cricut machine. Follow the mat layout in Design Space to ensure each cardstock layer/image color is cut in the correct order.
ProTip: Design Space sometimes skips the Select Mats box option for some designs (see above in the Butterfly topper instructions) and goes directly to the Mat Preview page. If this occurs, click on the drop-down option and change the setting from the default “On Card Mat” to “On Mat.” This step will ensure that the correct mat is selected for the card topper cut!

Step Three - Assembling the Turtle 3D Paper Card Topper
Keep following the Step Three directions for the Butterfly topper to weed and curl the paper pieces of each Turtle layer.
Next, place the folded card vertically for the 3D paper design.
Finally, finish following the Step Three instructions to line up and glue together each layer of the Turtle topper.
Congratulations! You’ve just completed this adorable Turtle 3D Paper Card Topper! Enjoy this delightful card as a pop of summer in your home, or give it away as a special note to a loved one!
Part Three: Watermelon 3D Paper Card Topper

Cardstock Paper Colors:
Pink
Yellow
Peach
Mint Green
Card Size:
4.25 x 5.5in (horizontal)
Watermelon 3D Paper Card Topper Instructions:
Step One - Create the Topper in Design Space
Follow the Step One instructions for the Butterfly 3D Paper Card Topper to upload the Watermelon 3D topper file to Design Space. Resize the watermelon image to 4in W.
Continue to follow the Step One instructions for the butterfly image, and size each offset to 0.056.
When selecting each layer’s color, follow the below color list:
Light Pink
Light Yellow
Light Orange
Light Green
Check each layer for small contours to “hide.” Again, this step will prevent the paper from being torn while cutting.
Step Two - Prepping Mats & Materials
Follow the Butterfly 3D Paper Card Topper instructions to prepare the mats and cardstock for the Cricut machine. Follow the mat layout in Design Space to ensure each cardstock layer/image color is cut in the correct order.
Step Three - Assembling the Watermelon 3D Paper Card Topper
Keep following the Step Three directions for the Butterfly topper to weed and curl the paper pieces of each Watermelon layer.
Next, place the folded card horizontally for the 3D paper design.
Finally, finish following the Step Three instructions to line up and glue together each layer of the Watermelon topper.
Congratulations! You’ve just completed this super cute Watermelon 3D Paper Card Topper! Enjoy this delicious-looking card as a sweet note of summer in your home, or hand it to a loved one to make their day!
Conclusion:
Congratulations on completing these Summer-Themed 3D Paper Card Toppers! Following these simple steps, you’ve transformed ordinary paper into extraordinary 3D art that adds a delightful touch to your summer greeting cards.
Whether you created the butterfly, turtle, or watermelon design, each piece is a unique and colorful expression of summertime joy. The layering technique and rolled edges bring a charming dimension to your paper cards, making them stand out and be enjoyed by everyone who receives them!
Feel free to experiment with different cardstock colors to further personalize your 3D card toppers. Remember, crafting is all about having fun and letting your creativity shine!